On this page
You’re building an API in IntelliJ IDEA, PyCharm or WebStorm. Every time you want to check an endpoint, you switch to another app, paste the URL, copy a token and switch back.
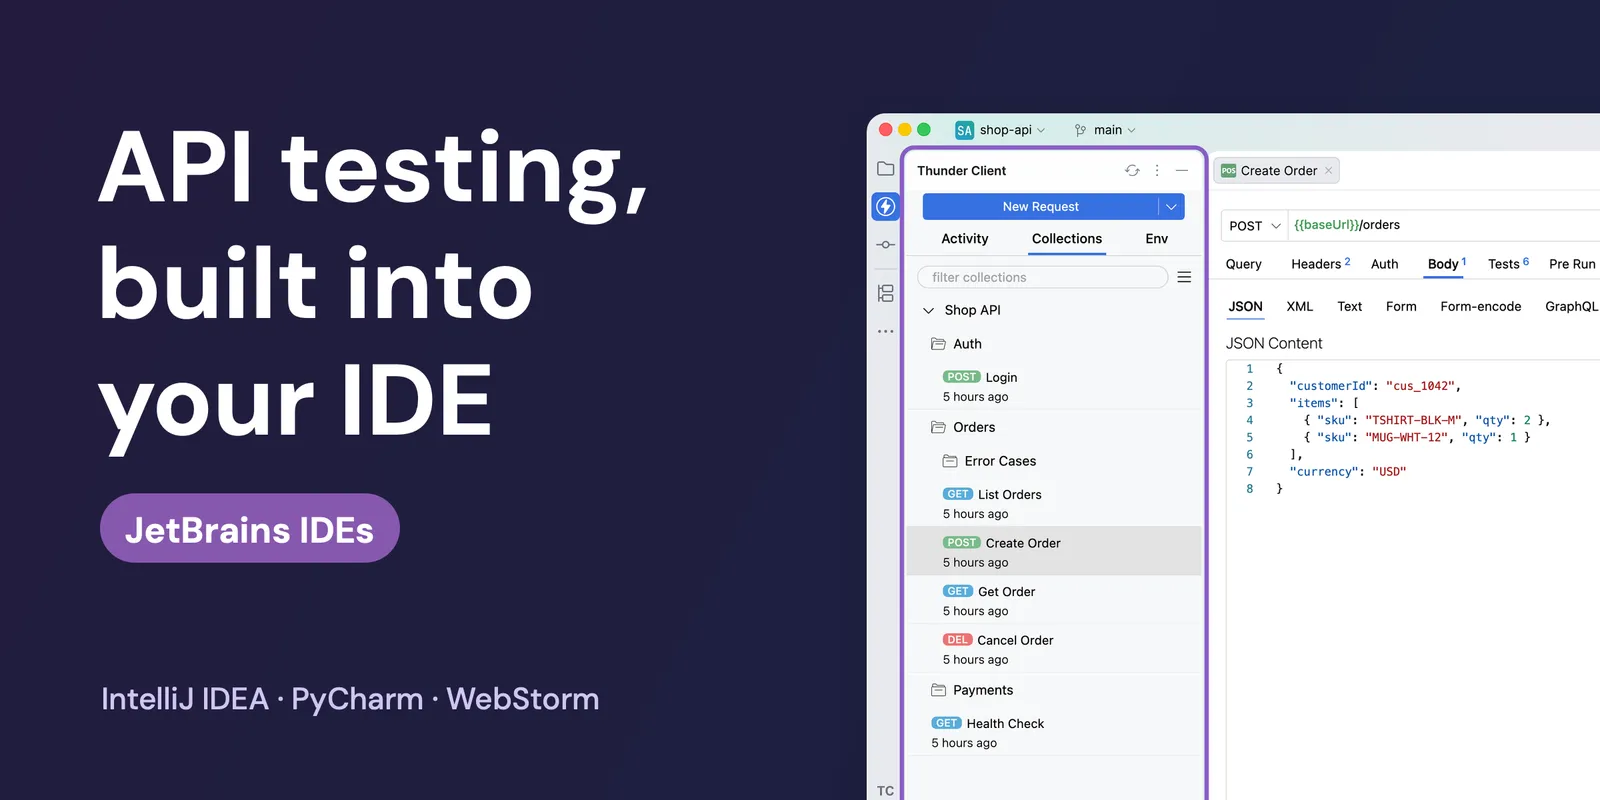
Thunder Client ends that back-and-forth. It’s a simple, lightweight API client that runs inside your IDE. More than 7 million developers use it in VS Code, and it’s now available for JetBrains IDEs. It’s local-first and works offline, so your collections stay on your computer, and teams can share them through Git.
This guide shows you how to send requests, check responses without code, switch environments and run your tests from the terminal.
Why Thunder Client in your IDE
Most developers test APIs with either a separate app like Postman or their IDE’s built-in HTTP Client. Here’s how they compare:
| Postman | Built-in HTTP Client | Thunder Client | |
|---|---|---|---|
| Free in IntelliJ IDEA | ✗ Not in IntelliJ | ✗ Paid Ultimate | ✓ Free plan |
| Stay in your IDE | ✗ Separate app | ✓ | ✓ |
| Tests without code | ✗ JavaScript | ✗ JavaScript | ✓ |
| Local-first | ✗ Cloud | ✓ | ✓ |
| Form-based requests | ✓ | ✗ Text files | ✓ |
| VS Code and JetBrains | ✗ | ✗ | ✓ |
Already using Postman? Import your Postman collections, OpenAPI files or cURL commands in a few clicks. See how to import.
Before you start
Install Node.js 22 or later, then the Thunder Client CLI:
npm i -g @thunderclient/cliStep 1: Install the plugin
- Click the ⚙ icon in the top-right corner of the IDE and choose Plugins.
- Search for Thunder Client and click Install.
- Open Thunder Client from the IDE sidebar.
Step 2: Send your first request
Click New Request and enter the URL of any endpoint, local or deployed.
In this guide, we’ll use a local API called Shop API. To create an order, change the method from GET to POST, enter http://localhost:8080/api/orders, open the Body tab, pick JSON and add your payload:
{ "customerId": "cus_1042", "items": [ { "sku": "TSHIRT-BLK-M", "qty": 2 }, { "sku": "MUG-WHT-12", "qty": 1 } ], "currency": "USD"}If your API needs a token, open the Auth tab, choose Bearer and paste your token.
Click Send. You’ll see the status, size, response time and the formatted response, without leaving the IDE.
Tip: to create a WebSocket or Event Stream request, click the arrow next to New Request.
Step 3: Check the response without writing code
Looking at a response tells you it works now. Tests tell you when it stops working.
Open the Tests tab and add checks from the dropdowns, no code needed. For JSON fields, choose Json Query and type the path, like json.status:
| Check | Condition | Value |
|---|---|---|
| ResponseCode | equal | 201 |
json.status |
equal | pending |
json.total |
equal | 67.50 |
json.items |
count | 2 |
json.currency |
equal | USD |
Send the request again. The Results tab shows each check as Pass or Fail, so you’ll spot a broken endpoint right away.
Step 4: Switch between environments
Hard-coding localhost:8080 works until you need to test staging. Environments fix that.
- Open the Env tab, click the ☰ menu and choose New Environment. Name it Development.
- Add a variable
baseUrlwith the valuehttp://localhost:8080/api. - Add a variable
tokenfor your API token. - Create a Staging environment the same way, with the same variable names and your staging values.
- Make Development active: click Current Env in the bottom-right corner of the IDE and choose it.
Now write your request as {{baseUrl}}/orders. Switch the active environment the same way, and the same request hits a different server, with no editing.
Tip: drag and drop environments, and the variables inside them, to reorder them.
Step 5: Organize requests in collections
Every request you send, or save with ⌘S / Ctrl+S, is kept in the Activity tab. To keep it in a collection:
- Click ⋯ next to the request and choose Save to Collection.
- Change the Request Name from the URL to something readable, like Create Order.
- Pick a collection, or choose Create New and name it, for example Shop API.
- Click Submit.
Group related requests in folders, such as Auth, Orders and Payments.
Set auth once with Collection Settings
Each collection has its own settings for auth, headers and tests, and they apply to every request inside it. For example, to send the same token with every request:
- Click ⋯ next to the collection and choose Settings.
- Open the Auth tab and choose Bearer.
- Enter
{{token}}, the variable from Step 4, and click Save.
Every request in the collection now sends your token automatically. If you added a token to a request in Step 2, open its Auth tab and choose None, so it uses the collection’s token instead.
Tip: drag and drop requests and folders to reorder them.
Step 6: Run your requests from the terminal
Your requests and tests also run from the terminal and in CI, without the IDE open. The CLI finds your collections in the folder it runs in, so open a terminal in your project’s root folder and run the whole collection:
tc --col 'Shop API'You’ll see every request, its status code and how many of its tests passed. Here’s the output for a fuller Shop API collection with 11 requests:
Running Collection: Shop APIEnvironment Used: Development (Active)
Auth  POST - Login                     200     9 ms      1/1Orders  Error Cases    POST - Unknown SKU             400     2 ms      1/1    GET - Order Not Found          404     1 ms      1/1    GET - Missing Token            401     1 ms      1/1  GET - List Orders                200     2 ms      1/1  POST - Create Order              201     2 ms      5/5  GET - Get Order                  200     1 ms      1/1  DELETE - Cancel Order            200     1 ms      1/1Payments  POST - Create Payment            201     2 ms      1/1  GET - Get Payment                200     1 ms      1/1GET - Health Check                 200     2 ms      1/1
Summary Report┌────────────────────┬─────────┬──────────┬──────────┬───────────┐│  Name              │  Total  │  Passed  │  Failed  │  Skipped  │├────────────────────┼─────────┼──────────┼──────────┼───────────┤│  Total Iterations  │  1      │  1       │  0       │  0        │├────────────────────┼─────────┼──────────┼──────────┼───────────┤│  Total Requests    │  11     │  11      │  0       │  0        │└────────────────────┴─────────┴──────────┴──────────┴───────────┘
The same command works in GitHub Actions, GitLab CI, Jenkins and Azure DevOps. See the CI/CD docs to set it up.
Use it with your AI agent
Thunder Client also works with AI agents like Claude Code and Codex. They can create and run requests in your collections for you. To set it up, see Introducing Thunder Client MCP Server v2.
Next steps
- Thunder Client on the JetBrains Marketplace: install the plugin
- Thunder Client docs: learn how to use each feature in detail
- CLI with JetBrains: setup help, including how to set the CLI path manually
Questions or ideas? Contact us or open an issue on GitHub.
Try it on your own API
Thunder Client is a lightweight API client that lives inside VS Code and JetBrains IDEs.
 Varun Kumar ManchikantiSoftware Engineer at Thunder Client