On this page
Managing API keys, URLs, and credentials across your development environments shouldn’t mean maintaining the same variables in multiple places.
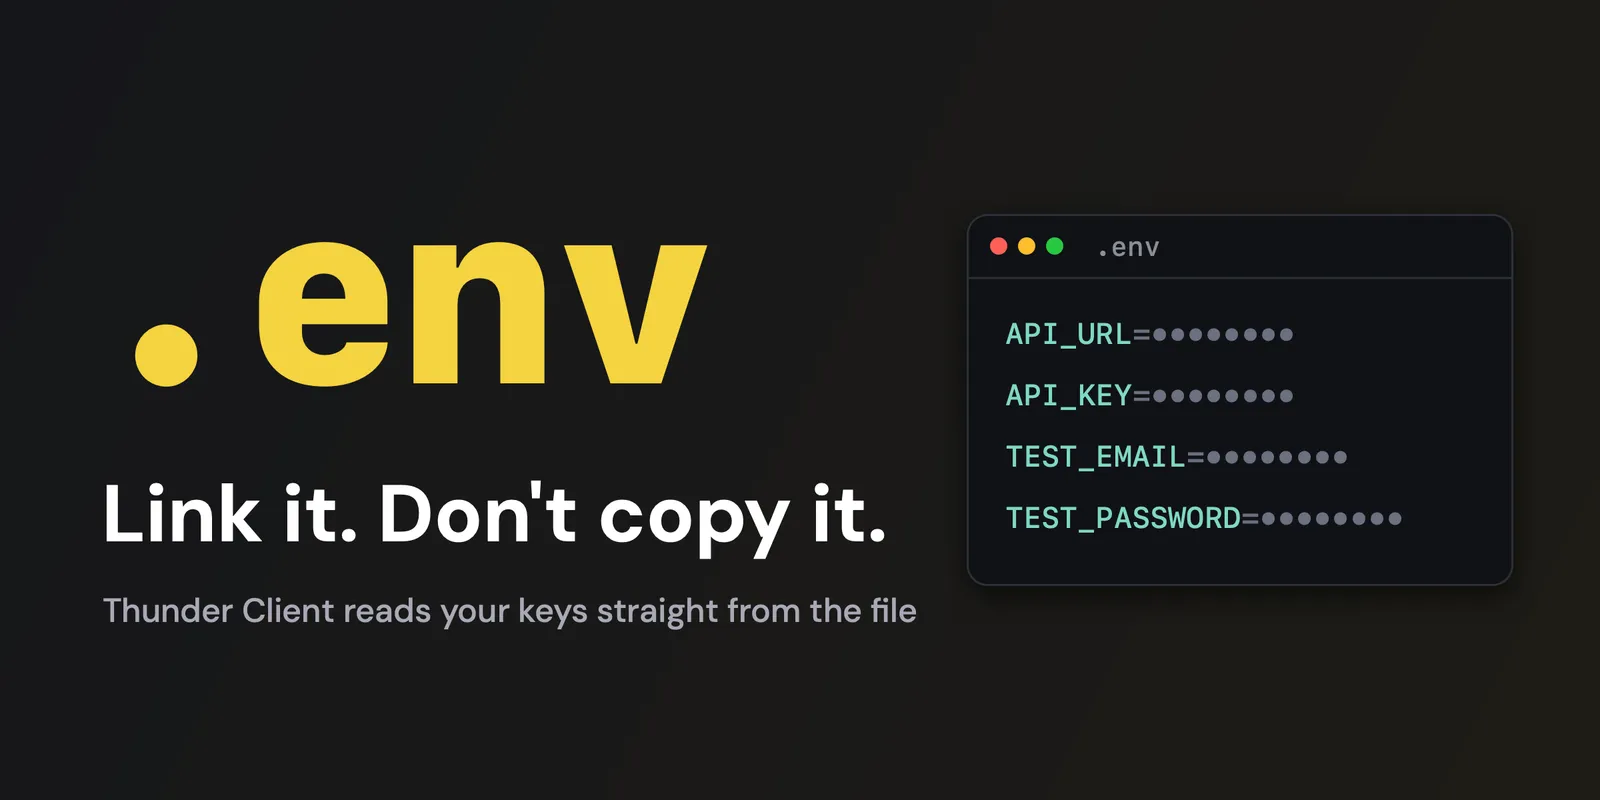
Most projects already have a .env file containing these values. Now, Thunder Client can read that file directly. Simply link it to an environment, and your API requests will use the values automatically — no importing, duplicating, or manually syncing variables.
In this guide, we’ll walk through how to connect .env files to Thunder Client, switch between Development, Staging, and Production environments, and run your collections using the same configuration from the CLI.
To make things practical, we’ll walk through the setup using a real-world example: an Event Booking API built with Express. The steps are identical in VS Code and JetBrains IDEs, and this feature is available on all plans, including Free.
Step 1: Your .env file
Here’s the .env file from the Event Booking API’s root folder, with placeholders in place of real secrets:
# Auth serviceSUPABASE_URL=https://your-project.supabase.coSUPABASE_ANON_KEY=your-anon-key
# API settingsPORT=3001# reference another variable in the same fileAPI_URL=http://localhost:${PORT}/api
# Test userTEST_EMAIL=organiser@example.comTEST_PASSWORD=your-test-password
Each line holds one KEY=value pair, and lines that start with # are comments.
Before going further, add these lines to your .gitignore so your .env files never reach Git:
.env.env.*!.env.exampleThe .env.* pattern also covers the .env.staging and .env.production files you’ll add in Step 4. The !.env.example exception lets you commit a template with placeholder values, so teammates know which variables they need to set.
Step 2: Link it to an environment
- In the Env tab, click the ☰ menu, choose New Environment and name it Development.
- Select the Link to .env file checkbox, then click the file field and choose your project’s
.envfile. The environment saves automatically. - Set Development as the active environment.
Every variable in the file is now available as {{VARIABLE_NAME}}. You can still add variables directly to the environment, such as apiVersion and timeout in the screenshot below, and they work alongside the ones from the file.
Thunder Client loads the file’s variables only while this environment is active, and it rereads the file on every request. If you change a value in .env, your next request picks it up, with no need to reopen the environment.
Step 3: Use the variables in a request
The Event Booking API uses Supabase for sign-in. To sign in as the test user, create a POST request to this URL:
{{SUPABASE_URL}}/auth/v1/token?grant_type=passwordIn the Headers tab, add an apikey header with the value {{SUPABASE_ANON_KEY}}. Then, in the Body tab, choose JSON and enter:
{ "email": "{{TEST_EMAIL}}", "password": "{{TEST_PASSWORD}}"}Click Send, and you should get a 200 OK response. Thunder Client fills in all four values from your .env file when it sends the request, so none of them are saved in the request itself.
Step 4: Add Staging and Production files
Give each environment its own file, using the same variable names with different values:
| Environment | Linked file |
|---|---|
| Development | .env |
| Staging | .env.staging |
| Production | .env.production |
-
Create
.env.stagingand.env.productionalongside your.envfile, and fill them with your staging and production values:.env.production SUPABASE_URL=https://your-prod-project.supabase.coSUPABASE_ANON_KEY=your-prod-anon-key -
Create Staging and Production environments, and link each one to its matching file as you did in Step 2.
-
Switch the active environment, and Thunder Client loads that environment’s linked file. The same requests now hit staging or production without any edits.
You don’t need to update .gitignore: the .env.* line from Step 1 already keeps these files out of Git.
Step 5: Run it from the CLI
The Thunder Client CLI loads the linked .env file as well. Save your requests to a collection, then open a terminal in your project’s root folder and run the collection with an environment:
tc --col 'Event Booking API' --env 'Development'Each request returns 200, which confirms that the CLI read the values from your .env file.
To override a value for a single run, pass it with --var-data, which takes priority over the .env file.
Use it with your AI agent
Thunder Client also works with AI agents such as Claude Code and Codex. When an agent lists your environments, it sees only their names and never the values from your .env file.
To set this up, see Introducing Thunder Client MCP Server v2.
Good to know
- Unlink any time. Open the environment and clear the Link to .env file checkbox. The environment saves automatically, and the file’s variables stop loading.
- Environment values win. If the same variable is defined in both the environment and the
.envfile, the environment’s value is used. Use different names unless you want the environment to override the file. - Link, don’t import. Importing a
.envfile from the Env tab copies its values into the environment, while linking keeps them in the file. - File paths. With Git Sync or a custom save location, Thunder Client saves the path relative to your project. Otherwise, it saves the full path, so the
.envfile must exist at the same location on every machine that runs your requests, such as a CI server.
Next steps
- .env files in the docs: every option in detail
- Environments: variables, scopes and precedence
- Thunder Client CLI: run your collections in the terminal and CI
Questions or ideas? Contact us or open an issue on GitHub.
Try it on your own API
Thunder Client is a lightweight API client that lives inside VS Code and JetBrains IDEs.
 Varun Kumar ManchikantiSoftware Engineer at Thunder Client